Practical tutorial

How to use Luma Labs for your first AI video

How to use Luma Labs becomes much easier when you treat the process as a short creative loop: prepare a clear idea, describe the motion, review the result, and refine one variable at a time.

Start creating

01 / Prepare

Prerequisites

Before opening the generator, decide what you want the viewer to see, how the camera should move, and what visual details must remain stable. A focused brief gives the model fewer competing instructions and makes each revision easier to judge.

  1. Define the shot

    Write one sentence describing the subject, setting, time of day, and emotional tone. A single shot is usually easier to control than a paragraph describing an entire story.

  2. Describe the motion

    Choose one primary camera action, such as a slow push-in, tracking movement, orbit, or locked-off view. Add subject motion only when it supports the central action.

  3. Review and refine

    Compare the output with the original brief. Keep what works, identify the most visible failure, and change only that part in the next prompt.

02 / Set up

Numbered steps

The most reliable workflow is deliberately simple. Use the checklist below as a pre-flight pass, then move through the generation process without trying to solve every creative decision at once.

  • Choose a clear subject with a distinct silhouette.
  • State the environment and lighting direction.
  • Specify the camera movement before adding secondary action.
  • Use concrete visual nouns instead of abstract instructions.
  • Keep the first prompt short enough to diagnose.
  • Optional: add lens character, film texture, or a restrained color treatment.
  • Optional: prepare a reference image when composition or identity matters.

Start by opening the Luma Labs creation surface and selecting the video workflow that matches your goal. Enter the prompt as a compact shot description rather than a list of disconnected keywords. For example: “A red kite lifting above a quiet coastal village at sunrise, slow forward camera move, soft wind in the grass, natural cinematic light.”

Generate an initial result, then inspect the opening frame, the middle of the movement, and the final frame. Look for continuity, unwanted objects, abrupt camera changes, and motion that contradicts the prompt. If the scene is strong but the movement is wrong, revise the movement. If the movement works but the subject changes, simplify the subject description.
03 / Continue

Common errors and fixes

Most disappointing generations are not caused by one missing magic word. They usually come from a prompt that asks for too many actions, a camera direction that is unclear, or a scene whose important details are not visually distinct.

Everything moves at once. When the subject, background, camera, weather, and lighting all change, the result can feel unstable. Keep one dominant action and make the rest of the shot quiet.

The camera ignores the instruction. Put the camera movement near the beginning of the prompt and use familiar descriptions such as “slow dolly forward” or “wide tracking shot.” Avoid combining several movements in one short clip.

The subject morphs between frames. Reduce unnecessary adjectives, describe the subject with consistent physical traits, and avoid introducing new objects halfway through the prompt. A reference image may help when the subject must remain recognizable.

The output feels visually flat. Add a clear light source, foreground or background depth, and a simple atmosphere such as morning haze or directional window light. These details are more useful than stacking generic quality terms.

04 / Improve

Advanced tips

Once the basic workflow feels predictable, refinement becomes a matter of controlled experiments. Keep a small record of prompts and outcomes so you can distinguish a genuinely useful change from a lucky generation.

  1. Text-to-video becomes approachable

    Early creative workflows emphasized short descriptions and quick iteration, making camera language and visual specificity central to the process.

  2. Prompt structure matters more

    Creators began separating subject, environment, action, camera, and style so each part of a generation could be adjusted without rewriting the entire idea.

  3. Reference-led control expands

    Image references and stronger continuity expectations shifted attention from merely making motion to preserving composition, identity, and visual intent.

  4. Short clips become building blocks

    Instead of forcing one generation to contain a complete narrative, creators increasingly design a sequence of focused shots and edit them together.

For more consistent results, write prompts in layers: subject first, then action, environment, camera, and finish. Test a neutral version before adding a stylized look. If you need several related shots, repeat the essential subject and lighting language across each prompt. This is especially helpful when using Luma Labs examples to plan a sequence rather than a single standalone clip.

05 / Know the limits

Tutorial FAQ

Can one prompt create a complete film?

A single prompt is better suited to a focused shot than a finished multi-scene production. Long narratives introduce continuity, pacing, and character problems that are easier to manage as separate clips.

Workaround: plan a shot list and generate each moment separately.

Does a detailed prompt always produce a better result?

No. Extra detail can compete for attention, especially when several actions or camera directions appear together.

Workaround: begin with the essential visual idea, then add one useful constraint per revision.

Can the workflow guarantee perfect text or faces?

Generated video can still struggle with small lettering, fine anatomy, hands, and frame-to-frame identity.

Workaround: keep critical text out of the generated scene and use editing tools for final titles.

Is Luma Labs suitable for every video project?

It is useful for ideation, mood pieces, visual experiments, and short cinematic shots, but it is not a substitute for every camera, editing, or production workflow.

Workaround: combine generated shots with conventional editing and review.

What is the best way to use Luma AI? Start with a concise shot, describe the movement clearly, review the result, and iterate one variable at a time. That approach makes the model’s strengths easier to see and its failures easier to correct.

How should beginners write prompts? Use plain language in a consistent order: subject, setting, action, camera movement, lighting, and optional style. Avoid vague requests that describe only an emotion or a broad genre.

How many generations should you make? Make enough variations to compare direction, not enough to replace judgment. Once one version has the right structure, refine that direction instead of restarting from unrelated ideas.

06 / Compare

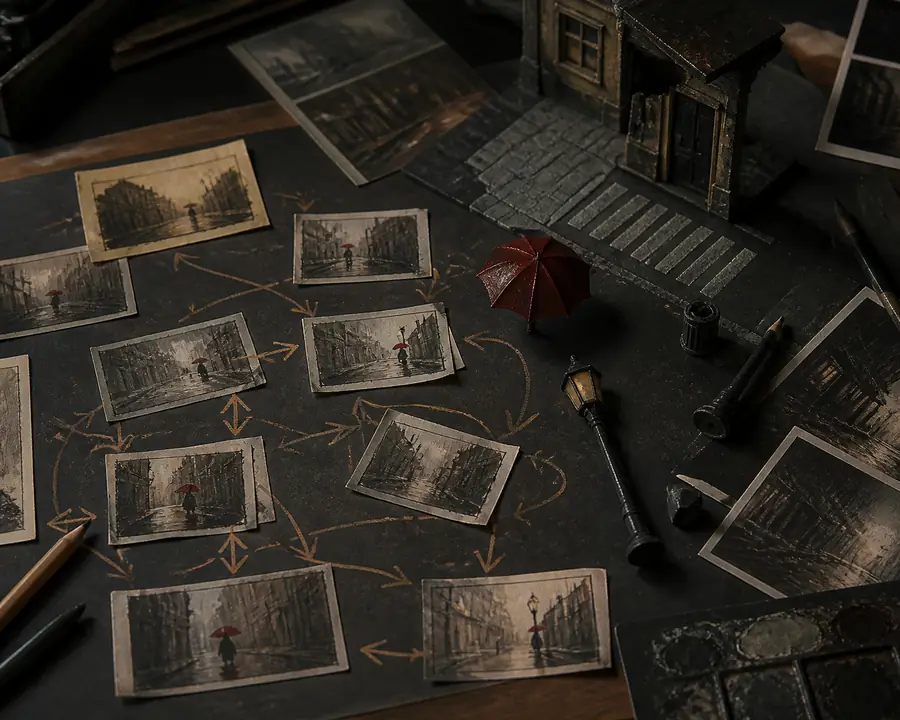
Initial AI video concept shown as a learning workflow example
Before — broad concept with competing visual instructions
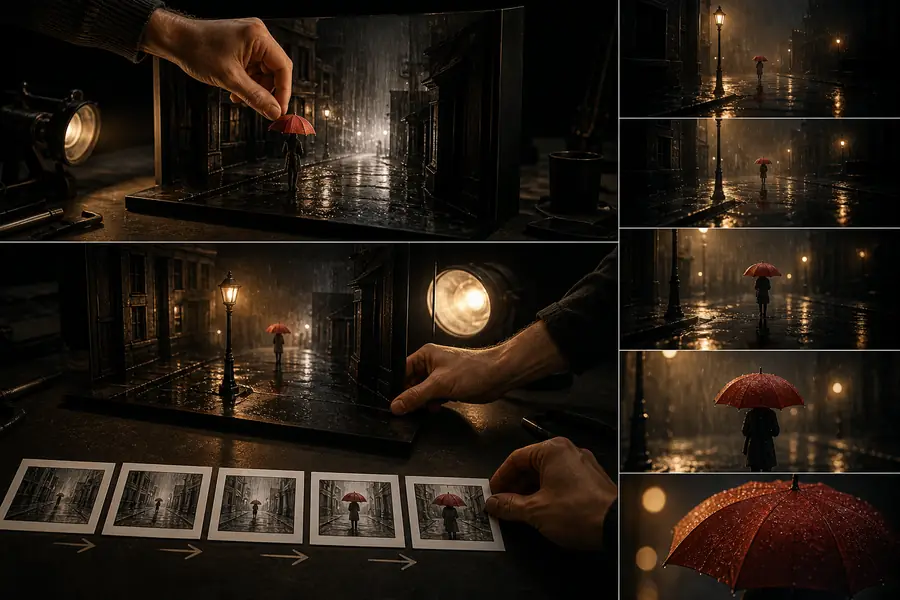
Refined AI video workflow with a focused scene and clear generation direction
After — focused subject, camera, and lighting direction

The useful change is not simply adding more words. It is narrowing the shot so the subject, motion, and camera have a clear hierarchy. That is the core principle behind how to use luma labs effectively: make a deliberate first pass, inspect what changed, and refine with evidence.